To find TRON transaction history, search your complete public address on Tronscan, open Transfers, choose TRC20 or TRX, and narrow the date range and token contract. Then open the matching Txn Hash to check the full record. You can read public history without connecting a wallet or entering a recovery phrase.
This TRON transaction history guide focuses on finding records across an account’s activity: choosing the right list, narrowing results, and keeping useful evidence. It does not assume that every row is a separate payment or that a missing filtered result means money was lost.
For more independent guides, visit Tronscan News. We are an independent publication, not the official TRON or TRONSCAN service.
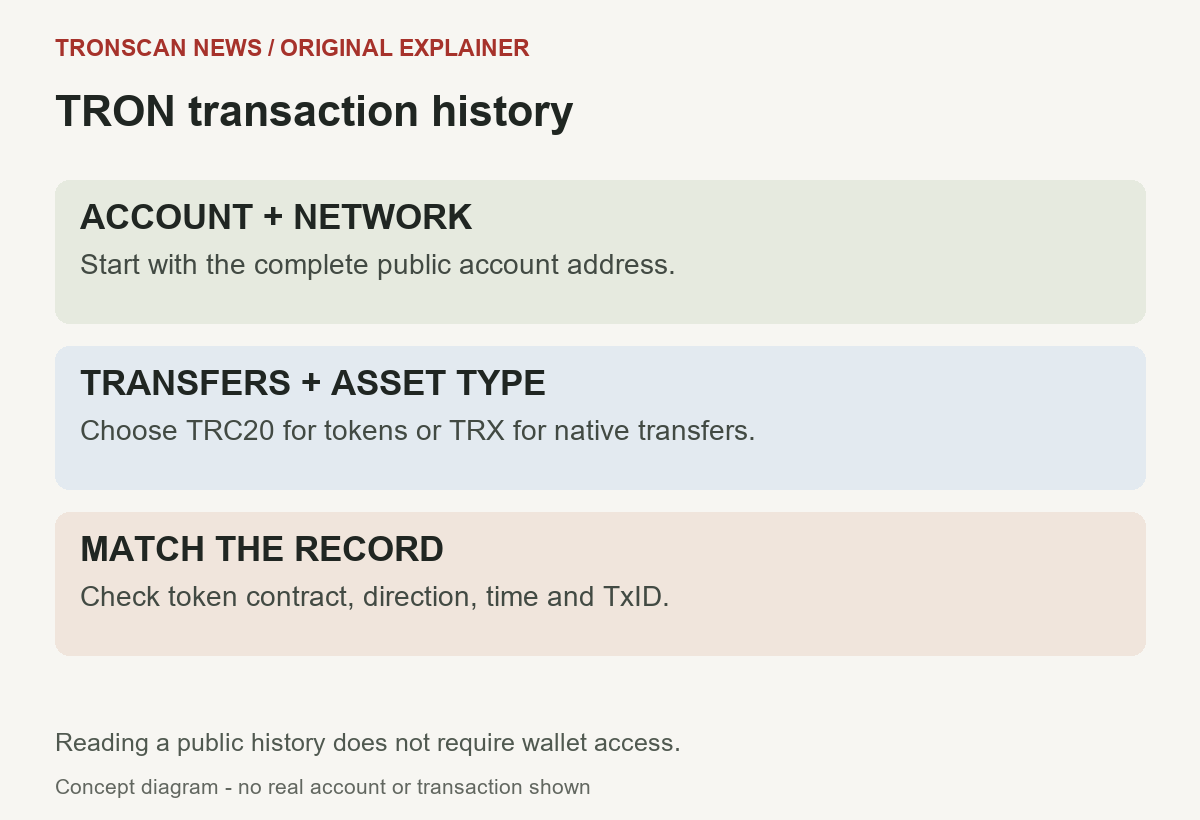
Table of Contents
TRON transaction history: the quick route
- Open the official TRONSCAN explorer and confirm the network.
- Paste the complete public account address into the main search box.
- Open Transfers and choose the appropriate asset type, such as TRC20 or TRX.
- Use the date filter and, for a particular token, the Token filter. Compare From and To with your account.
- Open the matching Txn Hash, verify the details, and save the URL with your research notes.
Interface check: we inspected the English mainnet account view on October 24, 2026. Transfers showed asset-type selectors, an Age column date filter, From and To filters, a Token filter, pagination, and a Download CSV File link. Labels and placement can change. We successfully applied a date preset and a token-contract filter. CSV download opened a human-verification challenge, so a completed export was not verified in this check.
1. Start with the correct account and network
TRON transaction history belongs to a particular account on a particular network. A correct-looking address does not establish that you are viewing the network used by a sender. Check the explorer’s network indicator before interpreting an empty list.
Copy the public receiving address from a trusted wallet screen or your own saved records. Do not copy a nearby address from an unfamiliar transfer. In a history table, addresses may be shortened or replaced by labels; neither presentation is enough for a full comparison.
The main search field we checked was labelled Search by Token / Account / Contract / Transaction / Block. Enter an account address to reach its account page. Entering a transaction hash instead takes you toward one transaction, which answers a different question.
For a mobile search, paste rather than retype a long address, then inspect the full address on the account page. Keep your reference address in a separate note so you can compare more than the first and last few characters. Be cautious with clipboard replacements and lookalike addresses.
A custodial exchange may use an address shared across many customers. Its public history can contain unrelated users’ transfers. The exchange’s withdrawal or deposit ledger is a separate source; the explorer cannot identify your private exchange account from a public address alone.
Prepare a small search note
Before browsing TRON transaction history, write down the network, public address, expected asset, approximate date, direction, and any known transaction hash. Mark uncertain fields as unknown. A remembered amount or token symbol is a useful clue, but it should not override a conflicting contract or destination address.
If your wallet uses several accounts, treat each address as a separate search. A wallet app’s combined activity screen may cover more addresses than the account page currently open in your browser.
2. Choose Transactions or Transfers
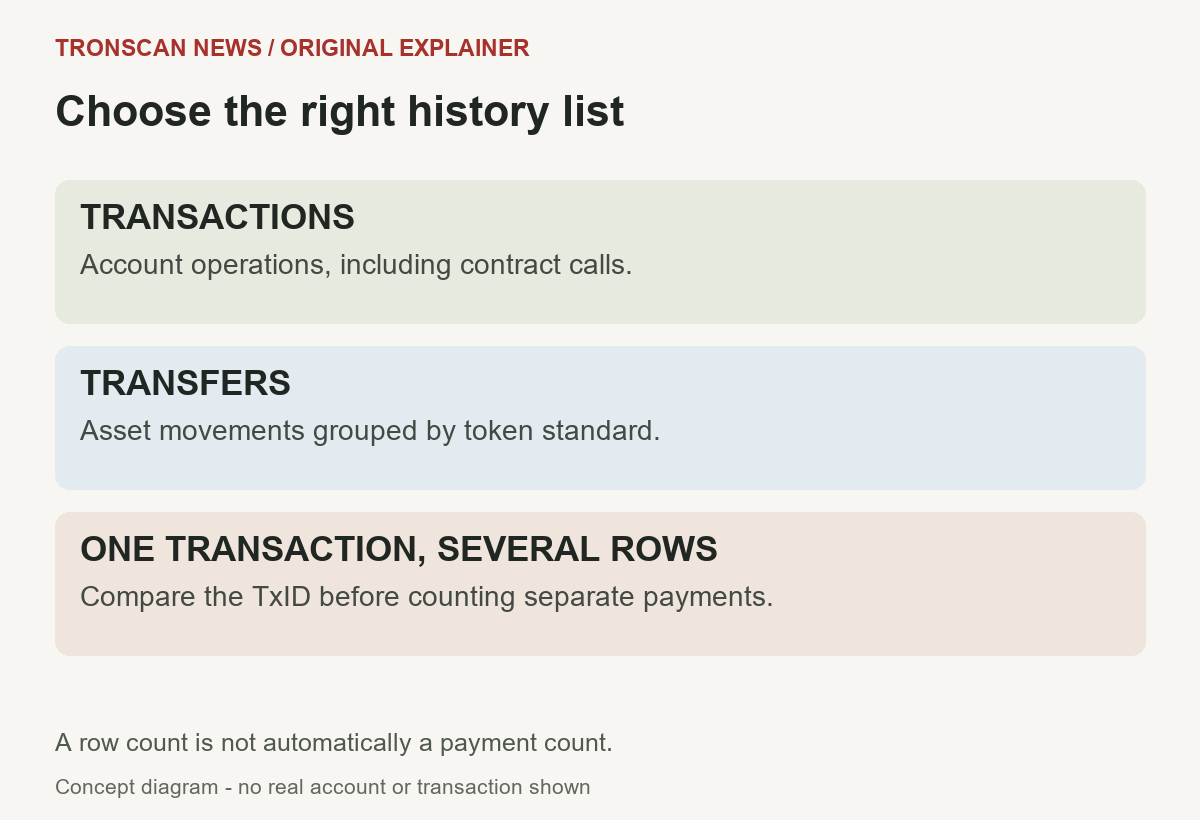
The account view separates Transactions, Transfers, and Internal Transactions. These are different views of activity. Their totals need not match, and one total should not be presented as the number of payments a person made.
In the Transactions view we checked, the table included Txn Hash, Block, Age (UTC), Transaction Type, From, To, Amount, and Result. This view is useful for examining account operations, including contract interactions. An operation involving a token contract may not look like a simple native TRX payment.
Transfers is the more direct starting point for a TRC20 transfer history search. The tested view had TRC20, TRX, TRC721, TRC1155, and TRC10 selectors. Choose TRC20 for a token implemented under that standard, or TRX for native-coin transfers. Do not expect a TRX-only list to answer a USDT token-history question. For an NFT-specific case, our checked TRC721 token-ID example separates an item identifier from a transfer quantity and native TRX amount.
The official TRONSCAN transaction-list documentation also distinguishes transaction records and their fields. Its API details explain data concepts; they are not a promise that every interface has identical controls.
Why a hash can appear more than once
A contract transaction can involve more than one token movement. In the tested account history, some transfer rows shared a transaction hash while showing different assets or directions. Before counting payments, compare the full hash and the individual transfer details.
For a simple personal search, the practical rule is to identify a candidate in the list and verify it on its detail page. Once you have that candidate, use our guide to checking a single TRON transaction on Tronscan for result and recipient checks. This article’s remaining steps concern finding the right candidate across many records.
3. Filter TRON transaction history by time and token
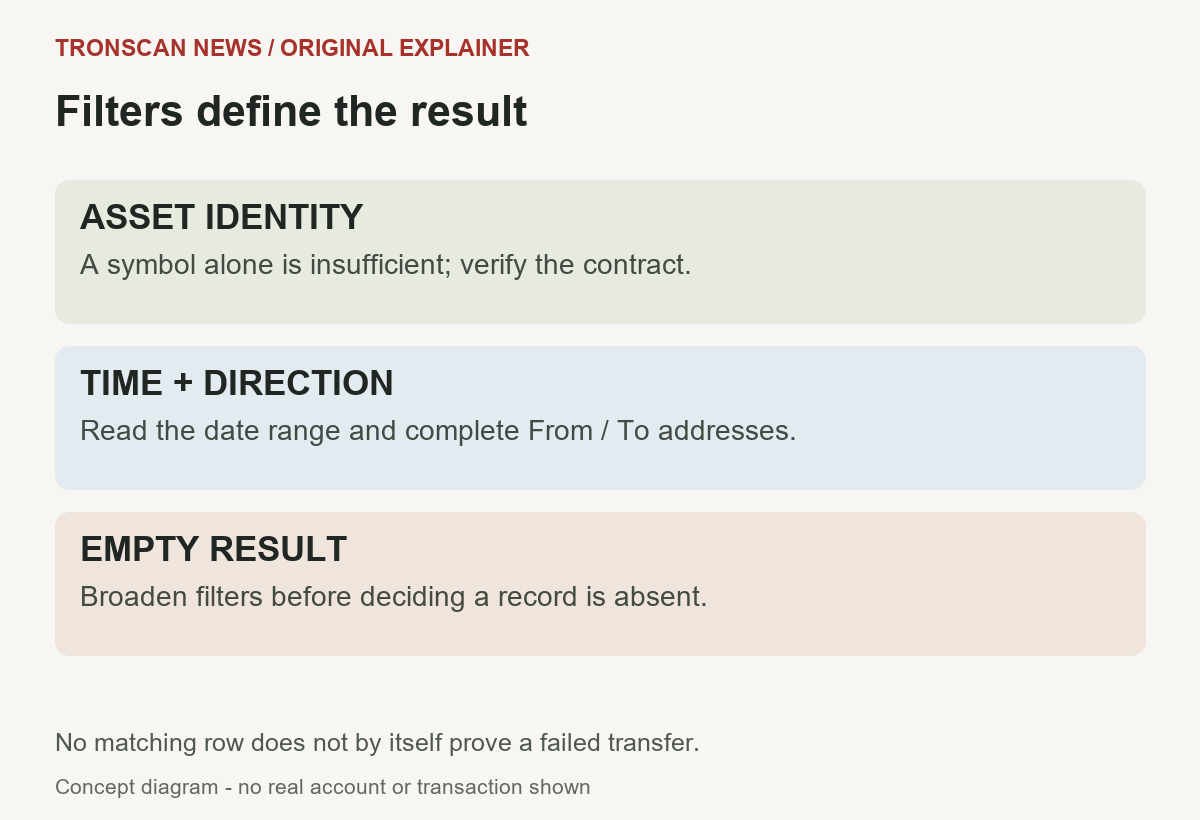
Filters reduce a large list, but they also change what an empty result means. Read every active condition before concluding that a transfer is absent. Start broad, then change one condition at a time so you can see which selection removed the record.
Apply a date range
In the Transfers view, open the filter icon beside the Age column. The tested calendar offered Today, Last 7D, Last 30D, Last 90D, Last 180D, Last 365D, and All, plus calendar controls and Reset and Confirm buttons.
- Open the date filter beside Age.
- Choose an appropriate preset, or use the available calendar controls.
- Read the selected start and end dates before pressing Confirm.
- Check the active Time condition displayed above the table after the list refreshes.
We applied Last 90D and verified that an explicit Time range appeared. Treat the displayed dates as the scope of your search rather than assuming the wording of a preset establishes an exact hour count. Do not assume the default view includes the account’s entire lifetime.
A payment near midnight can appear under a different calendar date when a wallet and an explorer use different time zones. The Transactions table explicitly showed UTC during our check. Record the exact timestamp and its stated time zone from the detail page; widen your search by an adjacent day when your source only gives a local date.
Filter the asset by its contract
Within TRC20 Transfers, open the Token column’s filter. The tested input was labelled Search by Token Symbol / Contract Address. Paste a verified contract, wait for the matching result, inspect it, and select it. Confirm that the active Token condition shows the expected token and complete contract.
We tested this selection with the USDT contract linked from the explorer’s own token page. The resulting condition displayed the token name and contract. This confirms the filter workflow, not the legitimacy of every token carrying the same symbol.
For your own TRON transaction history search, verify the asset independently before filtering. Our USDT TRC20 contract-checking guide explains why a familiar ticker or logo alone is insufficient. A copied symbol can lead you to the wrong asset and a misleading set of results.
The official TRON developer guide to TRC20 account history likewise supports filtering indexed token history by contract address. That page describes a developer service, not the browser steps above, but reinforces why the contract is a useful identifier.
Read direction from the full addresses
In a TRON transaction history table, From and To identify the direction relative to the account you are inspecting. Incoming means that account is the recipient for the relevant movement; outgoing means it is the sender. Read the full fields rather than trusting a plus sign or colour alone.
The tested interface also exposed From and To column-filter controls. If you use them, confirm the selected account and any active filter condition. A counterparty filter can exclude an exchange withdrawal routed from a different operational address than the one you expected.
Do not confuse an outgoing transfer’s recipient with a token contract. The transaction details may describe a contract call while the token-transfer details show the eventual recipient. Record the field appropriate to the movement you are investigating.
4. Match the row before counting or sharing it
Finding a similar amount in TRON transaction history is only the start. Open Txn Hash and compare the network, full hash, asset contract, sender, recipient, quantity, time, and execution result. An exchange order number or withdrawal reference is not automatically an on-chain transaction hash.
Keep a transaction hash separate from an address or an exchange reference. A full hash is particularly useful when the account has many transfers with repeated amounts. Once you have matched the starting movement, keep later candidates in a tracing worksheet and distinguish a visible route from proof of ownership.
Hypothetical example: you expect an incoming transfer of 25 units of a TRC20 token on a particular day. Two rows show 25. One belongs to another token contract; the other has your address in To and the expected contract. Keep the second as a candidate, then check its complete details. The amount alone did not identify the payment.
If multiple rows share a hash, preserve them as separate movement records while grouping them under that transaction in your notes. Do not blindly remove all repeated hashes: a swap can contain several distinct movements. Conversely, do not count every movement as a separate customer payment.
Pagination is part of the search scope
The tested larger transfer list included page numbers, a next-page control, a Page Size selector, and a Go to Page input. A short filtered list showed only one page. Before declaring a record missing, check whether more results remain outside the current page.
On a small screen, table columns and navigation can sit outside the initial viewport. Scroll within the relevant table or use landscape orientation if needed to inspect the complete row. Avoid drawing a conclusion from only the first columns visible on your phone.
For busy accounts with extensive TRON transaction history, narrow the date window instead of repeatedly scanning the first page. Keep the same token and direction conditions as you move through pages. If new activity arrives while you browse, recheck the boundary rows before treating two page views as a stable snapshot.
5. Export cautiously and keep a reviewable record
TRON transaction history can be easier to review in a spreadsheet, but a file is useful only when its scope is clear. The tested Transfers page had a Download CSV File link. Opening it led to a human-verification challenge; we did not verify a completed file or its row coverage.
TRONSCAN’s CSV export announcement dates to September 2019. It documents the existence of export features, not today’s exact limits or every current download option. Follow the live dialog’s conditions rather than treating an old announcement as a current completeness guarantee.
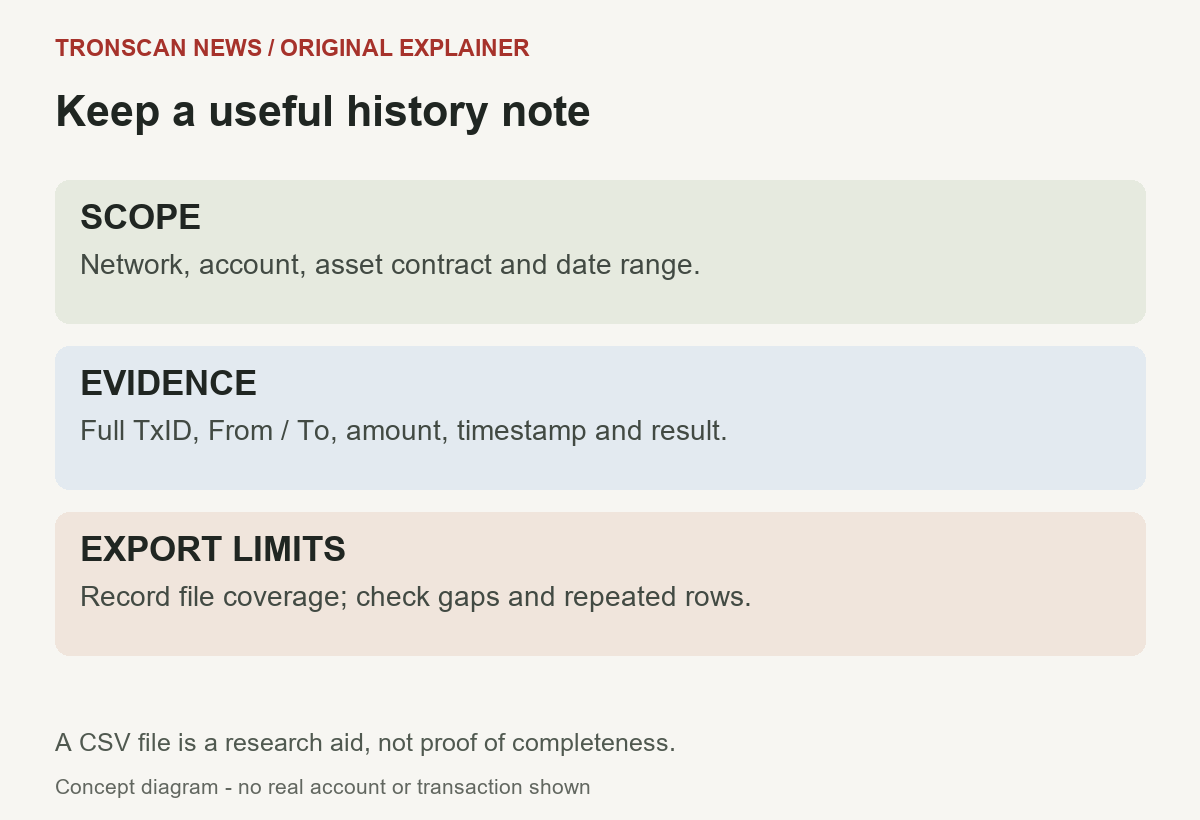
- Write down the network, address, list type, token contract, date range, and direction before exporting.
- Complete any legitimate verification yourself if the service requires it. Do not enter wallet secrets.
- If a file downloads, inspect its headers, first and last timestamps, and number of rows.
- Compare a few records with the explorer details, including full hashes and quantities.
- Record gaps or limits. Keep separate date windows clearly labelled and check overlapping boundaries.
Keep an untouched copy of the original file before sorting it. Our read-only TRON record preservation guide adds a tested file-fingerprint method and explains its limits. In a working copy, preserve hashes and addresses as text and retain decimal precision. Spreadsheet formatting can hide digits or turn identifiers into an unexpected display format.
A practical history worksheet
Use one row per movement you are investigating. Suggested fields are network, account, asset contract, full TxID, From, To, amount, timestamp with time zone, result, source URL, and the date you checked it. Add a separate note describing the filters used to find that record.
Keep observations and conclusions in different columns. “No rows under this token and date filter” is an observation. “The sender never broadcast a payment” requires additional evidence. This separation makes a support conversation more useful and avoids turning a narrow search into a claim about all account activity.
When sharing a support request, supply the public transaction URL and the relevant question. Do not publish your entire financial history unnecessarily, and never include a recovery phrase, private key, or wallet backup.
When TRON transaction history looks incomplete
- No rows after filtering: remove the token or counterparty condition, widen the date range, and confirm the network and account.
- TRX appears but USDT does not: check the TRC20 Transfers list and the exact token contract.
- One transaction appears several times: compare movement details before grouping rows by hash.
- A wallet balance differs from your sum: check opening balance, omitted assets, fees, staking activity, and the period covered. A filtered transfer list is not a complete balance ledger.
- An exchange says completed but your account shows nothing: obtain the actual on-chain hash and network from the exchange, then inspect that record.
- The page remains loading: treat the data as unavailable, not zero activity. Retry the official service later without connecting to an unfamiliar alternative.
TRON transaction history is a way to locate and compare public records. It cannot, by itself, prove who controls a counterparty, establish the purpose of every transfer, or confirm a private exchange credit. Use the explorer record and the relevant service’s own ledger together when the issue crosses those boundaries.
Frequently asked questions
1. How do I find incoming USDT in TRON transaction history?
Open the account’s Transfers view, choose TRC20, and filter by the verified USDT contract. Check that your complete account address appears in To for the movement. Widen the date range and check later pages before deciding a record is absent.
2. Why do Transactions and Transfers show different totals?
They present different kinds of records. Transactions describe account operations; transfer lists describe asset movements. One contract transaction can contain several movements, while other operations are not ordinary payments. Compare the full transaction hash and record type rather than expecting identical totals.
3. Does an empty filtered list mean my transaction failed?
No. It means the current view did not return matching rows. Check the network, account, asset standard, contract, date range, and other filters. If you have a full hash, inspect that transaction directly for its actual result.
4. Does a downloaded CSV contain the account’s entire history?
Do not assume so. Inspect the live export conditions and the resulting file’s dates and rows. Active filters, service limits, or incomplete downloads can affect coverage. Our interface check reached a verification challenge, so it did not confirm a complete export.
5. Must I connect a wallet to read public transaction history?
No. Public account and transaction pages can be read with an address or hash. A request for a recovery phrase, private key, payment, or transaction signature is not necessary for this read-only history search.
Editorial note: this independent tutorial was prepared with AI assistance and checked against official documentation and the English explorer interface on October 24, 2026. Diagrams are original explanatory illustrations, not product screenshots or real transaction records. See our editorial standards and corrections policy.
Leave a Reply